Your car starts to hesitate during acceleration. The engine idles rough, and you notice decreased fuel economy. These symptoms often point to dirty fuel injectors – a common problem that affects vehicle performance and efficiency.
Fuel injectors spray precise amounts of gasoline into your engine’s combustion chambers. Over time, carbon deposits, varnish, and other contaminants build up on these critical components. This buildup restricts fuel flow and disrupts the spray pattern, leading to poor engine performance.
The good news? You can clean your fuel injectors yourself using several proven methods. This comprehensive guide walks you through everything you need to know about fuel injector maintenance, from recognizing symptoms to completing the cleaning process.
Signs Your Fuel Injectors Need Cleaning
Dirty fuel injectors create noticeable symptoms that affect your driving experience. Pay attention to these warning signs that indicate your injectors require cleaning.
Engine Performance Issues
Your engine may struggle during acceleration or feel sluggish when you press the gas pedal. Hesitation during acceleration occurs because clogged injectors cannot deliver the proper fuel amount to match air intake. This imbalance creates a lean fuel mixture that reduces engine power.
Rough idling represents another clear indicator of injector problems. Clean injectors maintain smooth engine operation at idle speeds. When deposits block injector nozzles, the engine receives uneven fuel distribution, causing vibrations and unstable idle speeds.
Fuel Economy Problems
Dirty injectors force your engine to work harder to achieve the same performance levels. The engine control unit compensates for reduced fuel flow by increasing injection duration or frequency. This compensation leads to higher fuel consumption and reduced miles per gallon.
You might notice more frequent visits to the gas station or shorter distances between fill-ups. Track your fuel economy over several tanks to identify gradual decreases that suggest injector contamination.
Emissions and Starting Issues
Contaminated injectors affect combustion efficiency, leading to increased emissions. Your vehicle may fail emissions tests or produce visible exhaust smoke. Black smoke typically indicates rich fuel mixtures, while white or blue smoke suggests oil burning due to poor combustion.
Hard starting, especially when the engine is cold, also points to injector problems. The engine needs precise fuel delivery during startup, and dirty injectors cannot provide the required fuel atomization for reliable ignition.
Different Methods to Clean Fuel Injectors
Several effective methods exist for cleaning fuel injectors. Each approach offers distinct advantages depending on your situation, budget, and mechanical experience level.
Fuel Additive Treatment Method
Fuel system cleaners provide the simplest approach to injector maintenance. These chemical additives dissolve carbon deposits and varnish buildup while you drive normally.
How Fuel Additives Work
Pour the cleaner into your fuel tank before filling up with gasoline. The additive mixes with fuel and passes through the entire fuel system, including injectors, fuel lines, and combustion chambers. Active ingredients break down deposits and carry them away through the exhaust system.
Most fuel additives contain polyetheramine (PEA) or polyisobutylamine (PIBA) as primary cleaning agents. PEA proves more effective for removing stubborn deposits but costs more than PIBA-based products.
Using Fuel System Cleaners
Start with a nearly empty fuel tank to achieve proper concentration ratios. Add the entire bottle of cleaner, then fill your tank with high-quality gasoline. Drive normally for the next tank of fuel, allowing the additive to work throughout the system.
Repeat this process every 3,000 to 5,000 miles for preventive maintenance. For severely contaminated injectors, use consecutive treatments until symptoms improve.
Popular fuel system cleaners include Chevron Techron, Lucas Fuel Treatment, and Sea Foam Motor Treatment. These products have proven track records for injector cleaning effectiveness.
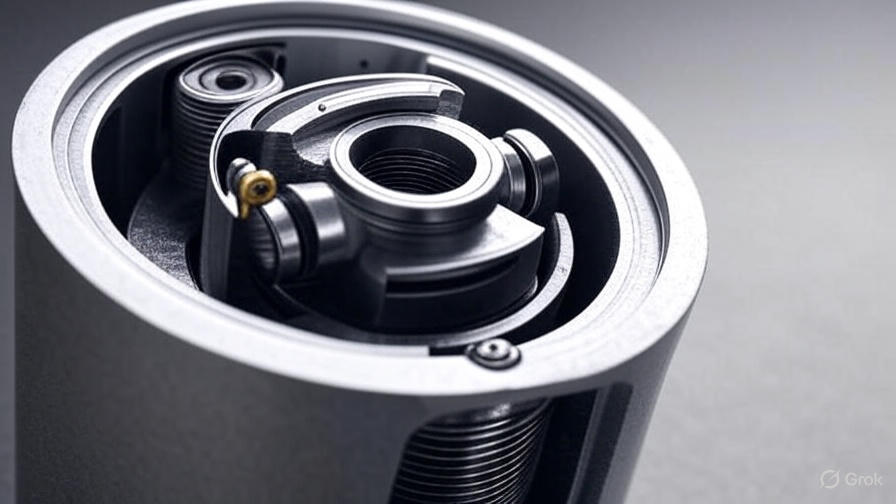
Professional Ultrasonic Cleaning
Professional cleaning services use ultrasonic technology to remove stubborn deposits that fuel additives cannot dissolve. This method requires removing injectors from the engine but provides the most thorough cleaning results.
The Ultrasonic Process
Technicians remove injectors from your engine and place them in specialized ultrasonic cleaning equipment. High-frequency sound waves create microscopic bubbles in cleaning solution. These bubbles collapse with tremendous force, dislodging deposits from injector surfaces.
The process typically includes flow testing before and after cleaning to measure improvement. Technicians also replace O-rings, filters, and other wear items during service.
Benefits and Costs
Ultrasonic cleaning restores injectors to near-new condition and provides long-lasting results. This method works especially well for high-mileage vehicles with severe contamination.
Expect to pay $15 to $50 per injector for professional ultrasonic cleaning. While more expensive than DIY methods, professional service includes labor, replacement parts, and performance testing.
DIY Pressurized Cleaning Kits
Pressurized cleaning kits allow you to perform professional-grade injector cleaning at home. These kits bypass the fuel pump and deliver cleaning solution directly to injectors under pressure.
Equipment You Need
Purchase a fuel injector cleaning kit that includes a pressurized canister, hoses, fittings, and cleaning solution. Popular brands include OTC, Mityvac, and CRC. Kits typically cost $50 to $150 depending on features and solution capacity.
You also need basic hand tools to disconnect fuel lines and access the fuel rail. Safety equipment including gloves and eye protection is essential when working with pressurized cleaning chemicals.
Step-by-Step Cleaning Process
Begin by running the engine until it reaches normal operating temperature, then shut it off. Locate the fuel pump fuse or relay and remove it to prevent pump operation during cleaning.
Disconnect the fuel supply line from the fuel rail. Install the cleaning kit’s adapter fittings to connect the pressurized canister to the fuel rail. Ensure all connections are tight to prevent leaks.
Start the engine and let it run on cleaning solution until the canister empties or the engine stalls. This process typically takes 10 to 20 minutes depending on engine size and idle speed.
Remove the cleaning equipment and reconnect original fuel lines. Reinstall the fuel pump fuse and start the engine to verify normal operation.
At-Home Soaking Method
For severely clogged injectors, soaking in cleaning solution can dissolve heavy deposits. This method requires removing injectors from the engine but uses common automotive solvents instead of expensive equipment.
Removal and Preparation
Disconnect the battery and relieve fuel system pressure before beginning work. Remove the fuel rail assembly with injectors attached, or remove individual injectors if your engine design allows easy access.
Handle injectors carefully to avoid damage to electrical connectors or spray nozzles. Label each injector’s cylinder position to ensure correct reinstallation.
Soaking Process
Submerge injectors in a container filled with carburetor cleaner, brake cleaner, or specialized injector cleaning solvent. Avoid getting electrical connections wet by covering them with plastic bags secured with rubber bands.
Let injectors soak for 12 to 24 hours, depending on contamination severity. Gently agitate the container occasionally to help dislodge deposits.
After soaking, use compressed air to blow out loosened debris. Be careful not to damage delicate internal components with excessive air pressure.
Essential Tools and Supplies
Successful fuel injector cleaning requires specific tools and supplies. Having everything ready before starting saves time and prevents project delays.
Basic Tools Required
Start with a standard socket set including metric and standard sizes. Most fuel system components use 10mm, 12mm, or 14mm fasteners. Ratcheting wrenches speed up removal and installation in tight spaces.
Needle-nose pliers help disconnect small hoses and electrical connectors. Wire brushes remove external deposits from injector bodies before cleaning internal components.
Safety Equipment
Wear nitrile gloves to protect your hands from cleaning chemicals and fuel. Safety glasses prevent splashes from reaching your eyes during pressurized cleaning procedures.
Work in a well-ventilated area to avoid inhaling solvent vapors. Keep a fire extinguisher nearby when working with flammable cleaning solutions and fuel systems.
Cleaning Supplies
Choose cleaning solutions appropriate for your chosen method. Fuel additives work for mild contamination, while carburetor cleaners handle heavier deposits. Professional-grade solutions provide the best results but cost more than consumer products.
Stock up on shop rags, compressed air, and small brushes for detailed cleaning work. New O-rings and seals ensure leak-free reassembly after cleaning.

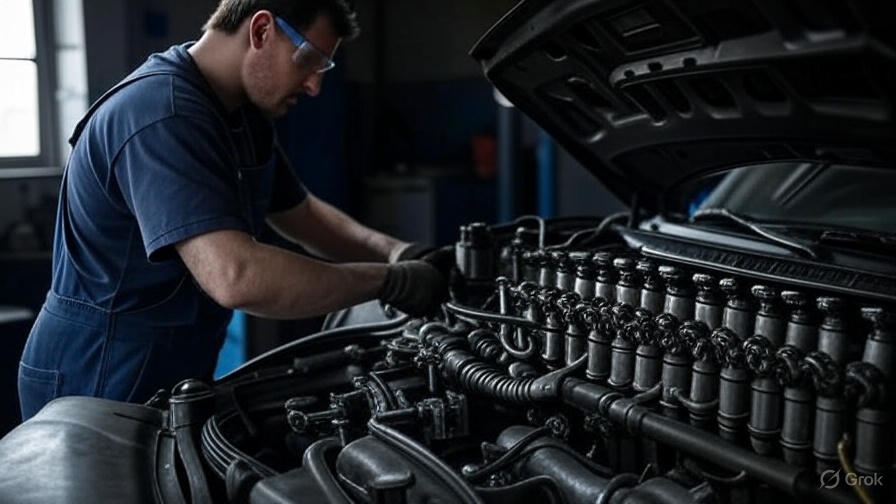
Step-by-Step Cleaning Instructions
Follow this detailed process to clean your fuel injectors safely and effectively. Take your time and work methodically to avoid mistakes that could damage expensive components.
Preparation Phase
Park your vehicle on level ground and engage the parking brake. Allow the engine to cool completely before beginning work – hot components can cause burns.
Disconnect the negative battery cable to prevent accidental electrical activation. Locate your vehicle’s fuel pump fuse or relay in the fuse box and remove it.
Start the engine and let it run until it stalls. This step relieves fuel system pressure and empties fuel lines. Attempt to restart the engine several times to ensure complete pressure relief.
Accessing the Fuel Injectors
Remove the engine cover if your vehicle has one. Locate the fuel rail assembly that connects all injectors. Most engines mount the fuel rail on top of the intake manifold for easy access.
Disconnect electrical connectors from each fuel injector. Press the locking tabs and pull connectors straight off to avoid damaging pins. Keep connectors organized to prevent mix-ups during reassembly.
Remove vacuum hoses and other components blocking access to fuel rail mounting bolts. Take photos before disconnection to reference during reassembly.
Fuel Rail Removal
Disconnect the fuel supply line from the fuel rail. This connection typically uses a quick-disconnect fitting that requires a special removal tool. Apply gentle pressure while manipulating the release mechanism.
Remove fuel rail mounting bolts using appropriate sockets or wrenches. Support the fuel rail while removing the last bolt to prevent dropping and damage.
Lift the fuel rail straight up to remove it from the engine. Injectors may stay attached to the rail or remain in the intake manifold depending on your engine design.
Cleaning Process Execution
If using a pressurized cleaning kit, connect it to the fuel rail according to manufacturer instructions. Ensure all fittings are tight and properly sealed.
For manual cleaning methods, remove injectors from the fuel rail by twisting and pulling gently. Avoid excessive force that could damage delicate components.
Execute your chosen cleaning method following the specific procedures outlined earlier. Take your time and monitor progress throughout the cleaning process.
Reassembly and Testing
Install cleaned injectors into the fuel rail or intake manifold using new O-rings. Apply a light coat of engine oil to O-rings to ease installation and prevent damage.
Reinstall the fuel rail assembly by reversing the removal process. Tighten mounting bolts to manufacturer specifications – usually 15 to 25 foot-pounds for most vehicles.
Reconnect all electrical connectors, vacuum hoses, and fuel lines. Double-check all connections before proceeding to the next step.
Reinstall the fuel pump fuse and reconnect the battery. Turn the ignition key to the “on” position without starting the engine. Listen for the fuel pump to cycle and pressurize the system.
Start the engine and check for fuel leaks around all connection points. The engine may run rough initially as air works out of the fuel system. Allow several minutes for normal operation to resume.
Maintenance Tips and Prevention
Regular maintenance prevents severe injector contamination and extends cleaning intervals. Simple habits and preventive measures keep your fuel system operating efficiently.
Fuel Quality Matters
Use top-tier gasoline from reputable stations whenever possible. These fuels contain higher levels of detergent additives that help prevent deposit formation. Avoid discount gasoline that may lack adequate cleaning agents.
Keep your fuel tank at least quarter-full to prevent contamination from tank sediment. Water condensation in nearly empty tanks can cause corrosion and promote bacterial growth.
Regular Additive Use
Add fuel system cleaner every 3,000 to 5,000 miles as preventive maintenance. This regular treatment prevents deposit buildup and maintains optimal injector performance.
Time additive treatments with oil changes for easy remembering. Pour cleaner into your tank before filling up to ensure proper mixing and concentration.
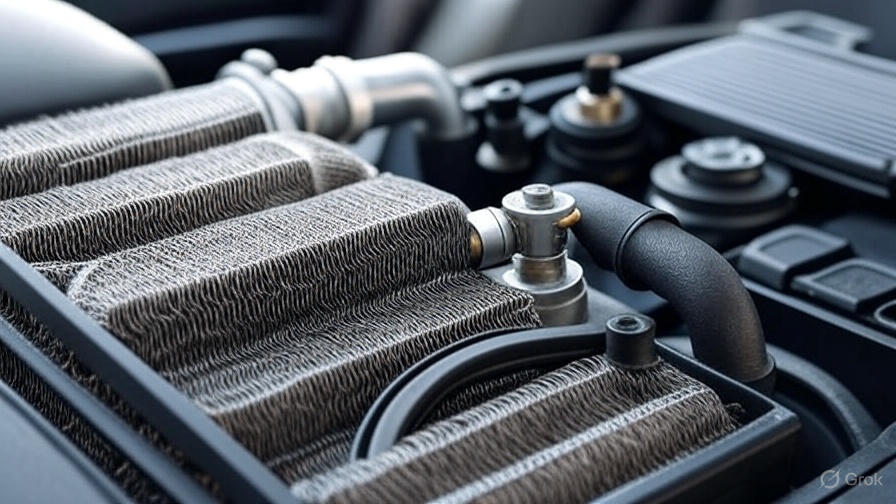
Air Filter Maintenance
Replace your air filter according to manufacturer recommendations. Dirty air filters reduce airflow and alter fuel mixture ratios, leading to increased deposit formation.
Check the air filter every 12,000 miles or sooner in dusty conditions. A clean air filter promotes complete combustion and reduces injector contamination.
Drive Regularly
Take your vehicle on longer highway drives periodically. Extended high-speed operation helps burn off light deposits and prevents carbon buildup in the fuel system.
Avoid excessive short-trip driving that doesn’t allow the engine to reach full operating temperature. Cold engines produce more deposits and incomplete combustion byproducts.
When to Seek Professional Help
Some situations require professional diagnosis and service beyond DIY cleaning capabilities. Recognize these conditions to avoid costly mistakes or safety hazards.
Persistent Symptoms
If cleaning doesn’t improve engine performance, other problems may exist. Faulty fuel pumps, clogged fuel filters, or engine management system issues can mimic dirty injector symptoms.
Professional diagnosis using scan tools and flow testing equipment can identify root causes that aren’t obvious during visual inspection.
Electrical Problems
Modern fuel injectors use sophisticated electronic controls that require specialized testing equipment. If injectors fail to operate electrically, replacement rather than cleaning may be necessary.
Damaged wiring harnesses or engine control unit problems need professional attention to prevent further damage to expensive components.
High-Mileage Considerations
Vehicles with over 100,000 miles may have worn injector components that cleaning cannot restore. Professional flow testing determines if cleaning will provide meaningful improvement.
Sometimes replacement proves more cost-effective than repeated cleaning attempts on severely worn injectors.
Conclusion
Clean fuel injectors are essential for optimal engine performance, fuel economy, and emissions compliance. Regular maintenance using appropriate cleaning methods prevents costly repairs and maintains your vehicle’s reliability.
Start with simple fuel additive treatments for preventive maintenance, then progress to more intensive methods if problems develop. Professional service provides the most thorough cleaning but costs more than DIY approaches.
The key to injector longevity lies in prevention through quality fuel, regular maintenance, and proper driving habits. By following the guidance in this article, you can keep your fuel injectors clean and your engine running smoothly for many miles to come.
Remember that fuel system work involves flammable liquids and pressurized components. Always prioritize safety by working in ventilated areas, using proper protective equipment, and following manufacturer procedures. When in doubt, consult with qualified automotive professionals who have the experience and equipment to handle complex fuel system problems safely and effectively.