Your car won’t start, and you suspect the starter motor might be the culprit. Before you rush to the auto parts store or call a mechanic, you can perform several tests to determine if your starter actually needs replacement. Testing a starter motor requires basic tools and safety precautions, but the process can save you hundreds of dollars in unnecessary repairs.
Signs Your Starter Motor Needs Testing
The starter motor performs one crucial function: turning your engine over so combustion can begin. When this component fails, several symptoms become apparent. A clicking sound when you turn the key often indicates starter problems, though it could also signal a weak battery or corroded connections.
Engine cranking slowly suggests the starter motor struggles to turn the engine. This symptom frequently appears alongside dimming headlights, pointing to either battery issues or starter motor problems. Sometimes, the engine doesn’t crank at all despite having power to other electrical components.
Grinding noises during startup indicate potential gear problems within the starter assembly. The starter drive gear may not engage properly with the flywheel, creating metal-on-metal contact. Dashboard lights might flicker or dim when you attempt to start the vehicle, suggesting the starter draws excessive current.
Intermittent starting problems can also trace back to starter issues. The vehicle starts normally sometimes but fails other times, often when the engine is warm. This inconsistent behavior frequently indicates internal starter motor problems or worn brushes.
Essential Tools for Starter Testing
Before beginning any starter tests, gather the proper equipment. A digital multimeter serves as your primary diagnostic tool, measuring voltage, current, and resistance throughout the electrical system. Purchase a quality meter with automotive-specific features for accurate readings.
Jumper cables help eliminate battery-related variables during testing. Fresh batteries in your multimeter ensure consistent readings throughout the diagnostic process. Basic hand tools like wrenches and screwdrivers allow access to starter connections and mounting bolts.
Safety equipment protects you during testing procedures. Wear safety glasses to protect against battery acid splashes or flying debris. Insulated gloves prevent electrical shocks when handling connections. Work gloves provide better grip on tools and protect your hands from sharp edges.
A flashlight or work light illuminates the work area, especially important when working in dim garage conditions. Many starter problems occur during cold weather when natural light is limited. Battery terminal cleaning supplies help ensure good electrical connections during testing.
Battery Voltage Test: The First Step
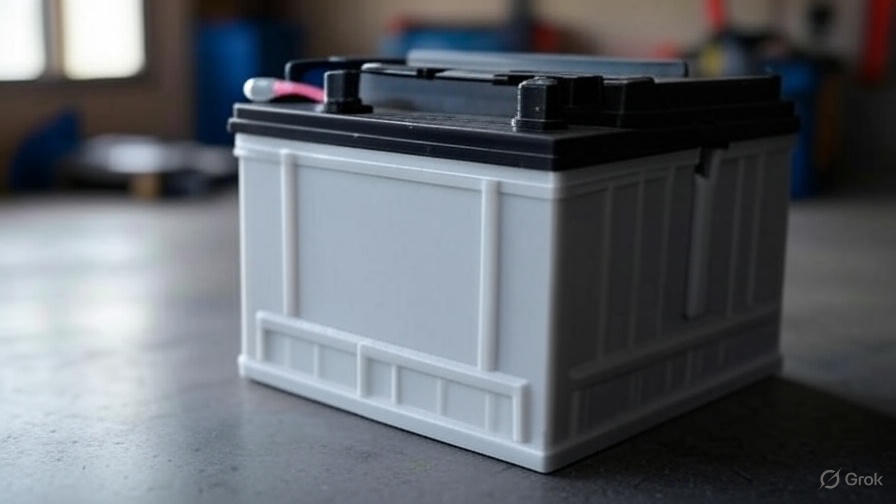
Start your diagnostic process by testing battery voltage, as a weak battery can mimic starter problems. Connect your multimeter’s positive lead to the battery’s positive terminal and the negative lead to the negative terminal. A fully charged 12-volt battery should read between 12.6 and 12.8 volts with the engine off.
Turn the ignition key to the start position while monitoring the voltage. The reading should not drop below 10.5 volts during cranking. If voltage drops significantly, your battery needs charging or replacement before proceeding with starter tests.
Clean battery terminals before testing to ensure accurate readings. Corrosion creates resistance that affects both voltage measurements and actual starter performance. Use a wire brush or battery terminal cleaner to remove buildup, then retest the voltage.
Temperature affects battery performance, so consider environmental conditions when interpreting results. Cold weather reduces battery capacity, while extreme heat can also impact performance. A battery that tests marginal in cold conditions might perform adequately in warmer weather.
Voltage Drop Test at the Starter
The voltage drop test reveals whether sufficient power reaches the starter motor during operation. Connect your multimeter between the battery positive terminal and the starter motor’s positive terminal. Set the meter to read DC voltage and have an assistant turn the ignition key to the start position.
The voltage reading should remain within 0.5 volts of battery voltage during cranking. Higher readings indicate excessive resistance in the positive circuit, often caused by corroded connections, damaged cables, or poor terminal contact.
Repeat the test on the ground circuit by connecting the meter between the battery negative terminal and the starter motor housing. Again, voltage drop should not exceed 0.5 volts. Excessive ground circuit resistance often stems from corroded engine ground straps or poor chassis connections.
Document your voltage drop readings for future reference. These measurements help track electrical system deterioration over time and verify repair effectiveness. Clean and tighten all connections showing excessive voltage drop before retesting.

Current Draw Testing
Current draw testing measures how much electrical current the starter motor consumes during operation. This test requires an inductive ammeter or a multimeter capable of measuring high amperage. Normal starter current draw varies by engine size and starter type but typically ranges from 150 to 400 amperes.
Connect the ammeter according to manufacturer instructions, usually by clamping the inductive probe around the positive battery cable. Start the engine briefly while monitoring current draw. Excessive current consumption indicates internal starter motor problems such as worn brushes, damaged armature, or tight bearings.
Low current draw combined with slow cranking suggests high internal resistance within the starter motor. This condition often results from worn brushes that don’t maintain proper contact with the commutator. The motor receives power but cannot generate sufficient torque to turn the engine effectively.
Compare your readings to manufacturer specifications when available. Generic ranges provide guidance, but specific vehicle requirements offer more accurate diagnostic information. Some high-performance or diesel engines require starters with higher current draw specifications.
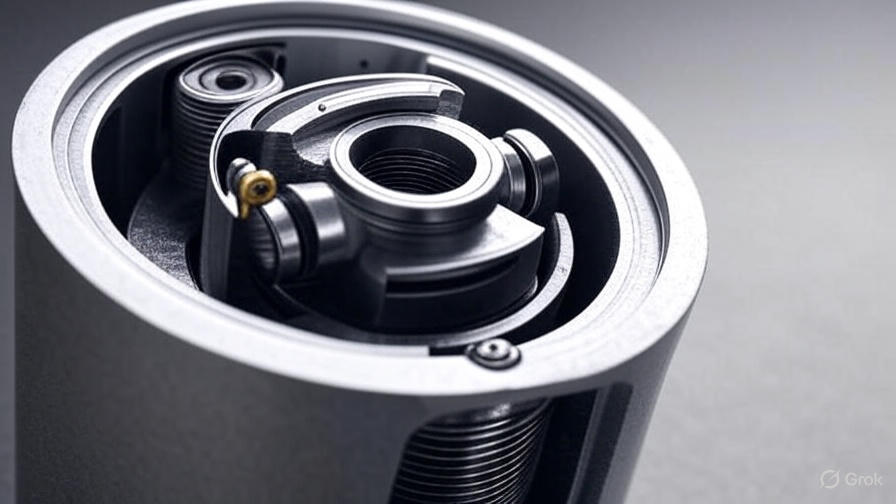
Bench Testing the Starter Motor
Bench testing involves removing the starter from the vehicle and testing it on a workbench. This comprehensive test eliminates vehicle wiring variables and provides definitive starter motor evaluation. Remove the starter following proper procedures, noting cable positions and mounting hardware orientation.
Connect jumper cables directly to the starter motor terminals. Secure the starter in a vise or similar holding device to prevent movement during testing. Apply 12 volts to the solenoid terminal while grounding the starter case. The solenoid should engage with an audible click, and the drive gear should extend.
Apply power to the main starter terminal while maintaining solenoid activation. The motor should spin rapidly with strong, consistent rotation. Listen for unusual noises such as grinding, squealing, or irregular operation that indicate internal problems.
Measure current draw during bench testing for comparison with in-vehicle measurements. Bench testing eliminates engine compression and accessory loads, so current draw should be significantly lower than in-vehicle testing. Excessive current during bench testing confirms internal starter motor problems.
Solenoid Testing Procedures
The starter solenoid performs two functions: engaging the drive gear with the flywheel and completing the high-current circuit to the starter motor. Test the solenoid separately from the motor to isolate problems accurately.
Apply 12 volts between the solenoid control terminal and ground while listening for the engagement click. The solenoid should activate immediately with a sharp, distinct sound. Weak or delayed engagement indicates internal solenoid problems or insufficient control voltage.
Test the solenoid’s switching function by measuring continuity between the main terminals. With the solenoid de-energized, no continuity should exist between terminals. Apply control voltage and retest – continuity should appear immediately, indicating the internal contacts close properly.
Measure voltage drop across the solenoid contacts during operation. Connect your multimeter between the input and output terminals while the solenoid is energized and carrying current. Voltage drop should not exceed 0.2 volts, as excessive drop indicates worn or burned contacts.
Load Testing Under Real Conditions
Load testing evaluates starter performance under actual operating conditions, including engine compression and accessory loads. This test provides the most realistic assessment of starter motor condition and overall starting system performance.
Disable the ignition system to prevent engine starting during testing. Remove the ignition fuse, disconnect the coil, or use another method appropriate for your vehicle. This allows the starter to operate without the engine actually running, maintaining consistent test conditions.
Connect your ammeter and voltmeter simultaneously during load testing. Monitor both current draw and voltage levels throughout the cranking cycle. The starter should maintain consistent performance for at least 15 seconds of continuous operation.
Record cranking speed using a tachometer or timing light if available. Normal cranking speed varies by engine type but typically ranges from 150 to 250 RPM. Slow cranking speed combined with high current draw indicates starter motor problems, while slow cranking with normal current suggests engine mechanical issues.
Interpreting Test Results
Test result interpretation requires considering all measurements together rather than individual readings in isolation. A starter showing high current draw with slow cranking speed likely has internal motor problems. Low current draw with slow cranking suggests worn brushes or poor internal connections.
Normal current draw with adequate cranking speed but intermittent operation points to heat-related problems. Starter motors can develop thermal issues that affect performance only after warming up. These problems require extended testing or heat-soak procedures to diagnose accurately.
Compare your test results to manufacturer specifications when available. Generic standards provide guidance, but specific vehicle requirements ensure accurate diagnosis. Document all test results for future reference and warranty claims if applicable.
Consider the relationship between symptoms and test results when making repair decisions. A starter showing marginal test results but operating reliably might not require immediate replacement, while one with good test results but intermittent problems needs attention.
Common Testing Mistakes to Avoid
Many DIY mechanics make testing errors that lead to incorrect diagnoses and unnecessary repairs. Testing with a weak or marginal battery produces misleading results, as insufficient voltage affects starter motor performance. Always ensure battery condition before proceeding with starter tests.
Ignoring voltage drop measurements focuses only on starter motor condition while overlooking electrical system problems. High resistance connections can cause starter symptoms even with a perfectly functional motor. Test the complete circuit, not just the starter itself.
Failing to clean connections before testing introduces variables that affect measurement accuracy. Corrosion and contamination create resistance that alters test results. Spend time cleaning terminals and connections before beginning diagnostic procedures.
Rushing through tests or skipping steps can miss important diagnostic information. Each test provides specific information about different aspects of starter system operation. Complete testing ensures accurate diagnosis and prevents comeback repairs.
When to Replace vs Repair
Starter motor replacement versus repair decisions depend on several factors including cost, availability, and reliability requirements. Minor problems like worn brushes or solenoid contacts can often be repaired at lower cost than replacement.
Extensive internal damage such as burned armatures, damaged field windings, or worn bearing surfaces typically require replacement. Repair costs for major internal problems often approach or exceed replacement costs, making new or rebuilt units more economical.
Consider the vehicle’s age and value when making repair versus replacement decisions. High-mileage vehicles nearing end-of-life might benefit from less expensive repair options, while newer vehicles warrant quality replacement parts for long-term reliability.
Rebuilt starters offer compromise between cost and reliability for many applications. Quality rebuilders replace wearing parts and test units thoroughly before sale. Warranty coverage provides protection against premature failure.
Preventive Maintenance Tips
Regular maintenance prevents many starter problems and extends component life. Keep battery terminals clean and properly tightened to ensure good electrical connections. Corrosion creates resistance that forces the starter to work harder and reduces its lifespan.
Check engine ground straps periodically for corrosion or looseness. Poor ground connections increase starter current draw and can cause premature failure. Clean and tighten ground connections during routine maintenance intervals.
Address engine mechanical problems that increase cranking load on the starter motor. Low compression, timing issues, or thick oil create additional work for the starting system. Maintain the engine properly to reduce starter stress.
Monitor starting system performance for gradual changes that indicate developing problems. Slowly increasing cranking times or subtle changes in starter sound can warn of impending failures. Early detection allows planned replacement rather than emergency roadside situations.
Your starter motor plays a critical role in vehicle reliability, and proper testing ensures accurate diagnosis when problems occur. These testing procedures help you determine whether starter replacement is necessary or if other electrical system problems cause starting difficulties. Remember that systematic testing and careful result interpretation lead to successful repairs and satisfied customers.
Armed with this knowledge, you can confidently diagnose starter problems and make informed repair decisions. Whether you perform the work yourself or communicate more effectively with professional technicians, understanding starter testing procedures saves money and prevents unnecessary repairs.