Installing a tachometer transforms your driving experience by providing real-time engine RPM data that helps you optimize performance and protect your engine. This comprehensive guide walks you through the entire process of adding a tachometer to your vehicle, from selecting the right gauge to completing the wiring installation.
What Is a Tachometer and Why Do You Need One?
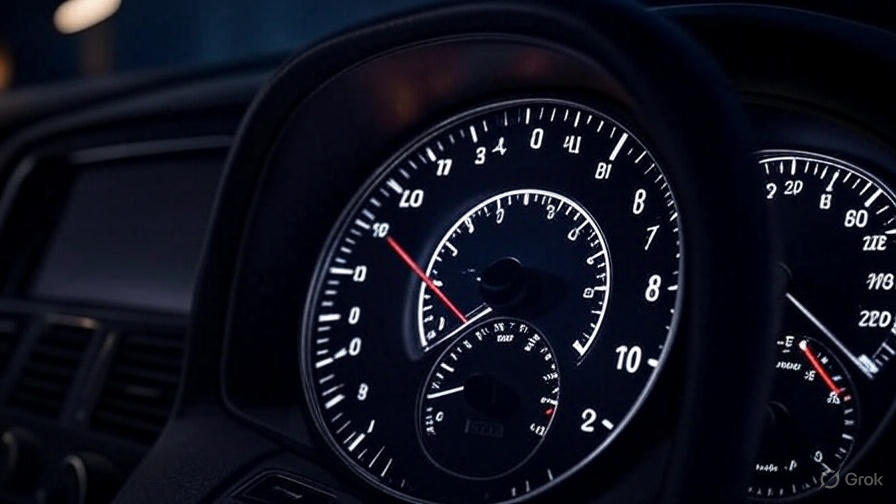
A tachometer measures your engine’s revolutions per minute (RPM), displaying this crucial information on an easy-to-read gauge. Modern vehicles often include factory-installed tachometers, but older cars, trucks, and specialty vehicles frequently lack this essential instrument.
The RPM gauge serves multiple purposes beyond simple monitoring. It helps prevent engine damage by showing when you approach the redline zone. Performance enthusiasts use tachometers to identify optimal shift points for maximum acceleration. Mechanics rely on RPM readings to diagnose engine problems and tune performance modifications.
Your engine operates most efficiently within specific RPM ranges. A tachometer reveals these sweet spots, allowing you to maintain ideal operating conditions while driving. This leads to better fuel economy, reduced engine wear, and improved overall performance.
Types of Tachometers Available
Electric tachometers represent the most common and versatile option for modern installations. These gauges connect directly to your ignition system and provide accurate readings across all engine types. Electric tachometers work with both electronic and conventional ignition systems, making them suitable for vintage restorations and contemporary builds.
Mechanical tachometers use a flexible cable connected to the engine’s camshaft or distributor. While less common today, mechanical gauges offer reliability and don’t require electrical connections beyond lighting. However, cable-driven tachometers can be noisy and require more complex mounting arrangements.
Digital tachometers display RPM readings on LCD or LED screens instead of traditional analog needles. These modern instruments often include additional features like peak RPM memory, shift lights, and programmable warning alerts. Digital gauges typically cost more but offer superior accuracy and functionality.
Shift light tachometers combine RPM monitoring with visual shift point indicators. These specialized gauges help drag racers and performance drivers achieve consistent shift timing without looking away from the track. Built-in LED lights activate at preset RPM levels to signal optimal shift points.
Essential Tools and Materials for Installation
Gather these tools before starting your tachometer installation project. A basic multimeter helps test electrical connections and verify signal strength. Wire strippers and crimping tools ensure secure electrical connections. A drill with various bit sizes creates mounting holes for your gauge and wiring.
Socket wrenches and screwdrivers provide access to ignition components and dashboard mounting points. Electrical tape and heat shrink tubing protect wire connections from moisture and corrosion. A flashlight or headlamp illuminates tight working spaces under the dashboard and hood.
Your materials list should include the tachometer gauge, mounting hardware, and appropriate wiring. Most aftermarket tachometers include basic installation hardware, but you may need additional brackets for custom mounting locations. Purchase marine-grade wire for exposed connections and automotive fuses for circuit protection.
Soldering equipment creates the most reliable electrical connections, though quality crimp connectors work well for most installations. Dielectric grease protects connections from corrosion, especially in harsh environments. Cable ties organize wiring and prevent chafing against sharp edges.
Planning Your Tachometer Installation
Start by determining the best mounting location for your new gauge. Dashboard installations offer easy viewing but require cutting or modifying existing panels. Pillar mounts place the tachometer in your peripheral vision without blocking critical instruments. Console installations integrate well with other aftermarket gauges but may interfere with shift operations.
Consider your wiring route from the mounting location to the ignition system. Shorter wire runs reduce voltage drop and signal interference. Plan paths that avoid heat sources, sharp edges, and moving parts. Factory wiring harnesses often provide convenient routing options for aftermarket installations.
Test your chosen mounting location with a cardboard template before cutting permanent holes. Verify that the gauge doesn’t interfere with steering wheel movement, gear shifting, or other controls. Ensure adequate clearance behind the mounting point for gauge depth and wiring connections.
Review your vehicle’s electrical system capacity before adding new components. Most tachometers draw minimal current, but older charging systems may struggle with additional accessories. Check fuse box capacity and identify appropriate circuits for gauge power and lighting connections.
Locating the Tachometer Signal Source
Modern vehicles with electronic ignition systems provide several signal source options. The ECM (Engine Control Module) often has a dedicated tachometer output that delivers a clean, filtered signal. This connection point provides the most accurate readings but requires identifying the correct wire in the ECM harness.
Ignition coil negative terminals offer another reliable signal source for most engines. Single coil systems provide one pulse per cylinder firing, while coil-pack engines may require signal conditioning. Verify your tachometer’s compatibility with your ignition system before making connections.
Distributor-equipped engines can use the negative side of the primary coil circuit for RPM signals. This connection point works well with both points and electronic ignition systems. However, signal strength may vary with engine speed and ignition timing changes.
Newer vehicles with coil-on-plug ignition systems present unique challenges for tachometer installation. These engines may require special signal adapters or aftermarket modules to provide compatible outputs. Research your specific engine configuration before purchasing a tachometer.
Step-by-Step Wiring Instructions
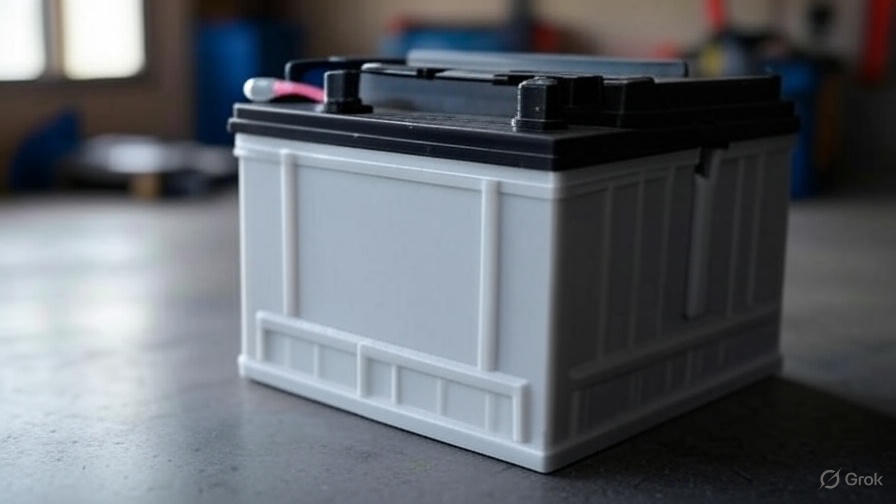
Begin your installation by disconnecting the vehicle’s battery to prevent electrical damage or short circuits. Remove the negative cable first, then the positive terminal. Wait several minutes before proceeding to allow any residual charge to dissipate.
Locate your chosen signal source and prepare the connection point. Clean any corrosion or dirt from terminal surfaces using fine sandpaper or electrical contact cleaner. Most tachometer installations require splicing into existing wires rather than disconnecting original connections.
Strip approximately 1/2 inch of insulation from the signal wire you’ll be tapping. Use a T-tap connector or solder a new wire to this point. Solder connections provide superior reliability but require more skill and time. Crimp connectors work well when properly installed with the correct tools.
Route the signal wire from the engine bay to your gauge mounting location. Use existing firewall grommets when possible, or drill new holes with appropriate seals. Protect wires from heat, sharp edges, and moving parts throughout their entire length.
Connect the tachometer’s power wire to a switched ignition source that activates with the key. This prevents battery drain when the vehicle is parked. Many installers use the ignition coil positive terminal or accessory circuits for this connection.
Ground the tachometer using the shortest path to the vehicle’s chassis. Clean the ground connection point to bare metal and secure with a ring terminal and appropriate fastener. Poor ground connections cause erratic gauge operation and inaccurate readings.
Mounting the Tachometer Gauge
Mark your mounting location using the gauge or supplied template. Double-check measurements and alignment before cutting any holes. Use a step drill or hole saw for clean cuts in dashboard materials. File or sand rough edges to prevent wire damage and improve appearance.
Install the gauge mounting hardware according to manufacturer instructions. Most aftermarket tachometers use threaded bezels or mounting brackets. Ensure the gauge sits flush and secure without gaps or movement. Loose mountings cause vibration and accelerated wear.
Connect all wiring to the back of the gauge before final installation. This provides better access and reduces the chance of connection errors. Verify proper wire routing to prevent pinching when the gauge is fully seated.
Test the installation before reassembling dashboard components. Reconnect the battery and start the engine to verify proper tachometer operation. Check readings at idle and various RPM levels to ensure accuracy and smooth operation.
Testing and Calibration Process
Start your engine and allow it to reach normal operating temperature before testing your new tachometer. Cold engines may not provide consistent RPM readings, leading to false calibration data. Most modern tachometers are pre-calibrated for common engine configurations but may require adjustment for specific applications.
Compare your tachometer readings with a known accurate source such as an OBD scanner or professional diagnostic equipment. Small discrepancies are normal, but significant differences indicate calibration problems or incorrect signal connections.
Many aftermarket tachometers include calibration adjustments for different engine configurations. Four-cylinder engines require different settings than V6 or V8 applications. Consult your gauge instructions for proper calibration procedures and settings.
Test the tachometer across the entire RPM range your engine produces. Idle readings should be steady without excessive fluctuation. Higher RPM readings should track smoothly without sudden jumps or erratic behavior. Erratic readings often indicate poor ground connections or signal interference.
Troubleshooting Common Installation Problems
Erratic or jumpy tachometer readings usually result from poor electrical connections or signal interference. Check all connections for tightness and corrosion. Verify that ground connections are clean and secure. Route signal wires away from ignition components and other potential interference sources.
No readings or dead gauge conditions often indicate power supply problems or incorrect signal connections. Use a multimeter to verify that the gauge receives proper voltage at both power and ground connections. Check fuses and verify that switched power sources activate with the ignition key.
Inaccurate readings compared to other instruments suggest calibration problems or wrong signal source connections. Some tachometers require specific signal conditioning for certain ignition systems. Verify your gauge compatibility with your engine’s ignition type.
Gauge lighting problems typically involve incorrect lamp connections or blown bulbs. Most tachometers connect gauge lighting to the vehicle’s dash light circuit. This allows brightness control and automatic operation with headlight activation.
Advanced Installation Techniques
Performance installations often benefit from additional features like shift lights and peak RPM memory. These options require additional wiring connections and programming steps. Shift light circuits typically connect to warning lamp outputs or custom LED installations.
Multiple gauge installations require careful planning of power distribution and signal routing. Central power buses reduce wiring complexity and improve reliability. Signal splitters allow multiple gauges to share single sensor outputs without loading effects.
Racing applications may require different mounting techniques for shock and vibration resistance. Solid mounting brackets and anti-vibration hardware protect sensitive gauge movements from track conditions. Quick-disconnect wiring harnesses allow rapid gauge removal for maintenance or storage.
Custom installations often involve fabricating mounting panels or modifying existing dashboard components. Professional appearance requires careful measurement, proper tools, and patience. Test fit all components before making permanent modifications to expensive dashboard parts.
Maintenance and Long-Term Care
Regular cleaning keeps your tachometer readable and attractive. Use appropriate cleaners for gauge face materials to prevent damage or discoloration. Avoid harsh chemicals that might damage plastic lenses or printed markings.
Periodic inspection of wiring connections prevents problems before they affect gauge operation. Look for signs of corrosion, chafing, or heat damage. Address any issues promptly to maintain reliable operation and prevent more extensive repairs.
Gauge accuracy may drift over time due to component aging or environmental factors. Annual comparison with known accurate sources helps identify calibration changes before they become significant. Some electronic gauges allow recalibration without replacement.
Protect your investment by addressing any operational problems quickly. Ignoring minor issues often leads to complete gauge failure and more expensive repairs. Keep installation documentation and spare parts for future maintenance needs.
Cost Considerations and Budget Planning
Basic analog tachometers start around $30-50 for simple aftermarket units. Higher-quality gauges with better accuracy and features range from $75-200. Digital and programmable tachometers can cost $200-500 or more for professional-grade units.
Professional installation typically costs $100-300 depending on vehicle complexity and local labor rates. DIY installation saves money but requires time and basic electrical skills. Factor in potential mistakes and rework when budgeting for self-installation projects.
High-end racing tachometers and data logging systems cost $500-2000 or more. These specialized instruments justify their cost through superior accuracy, additional features, and professional support. Serious racers often consider these investments essential for competitive performance.
Budget for additional components like mounting hardware, wiring supplies, and potential dashboard modifications. A complete installation project might cost 50-100% more than the gauge price alone. Plan accordingly to avoid project delays or compromised installations.
Installing a tachometer enhances your vehicle’s instrumentation while providing valuable engine monitoring capabilities. This project requires basic electrical skills and careful attention to detail but rewards you with improved engine awareness and protection. Take your time, follow proper procedures, and enjoy the benefits of professional-quality engine monitoring in your vehicle.