Getting stuck with a flat tire can turn any good day into a frustrating experience. Learning how to use a car jack properly transforms this roadside emergency from a major headache into a manageable task you can handle yourself. This comprehensive guide walks you through everything you need to know about car jacks, from basic operation to advanced safety techniques.
Types of Car Jacks and Their Applications
Car jacks come in several varieties, each designed for specific situations and vehicle types. The scissor jack represents the most common type found in vehicle emergency kits. These compact jacks fold into a diamond shape and work by turning a screw mechanism that extends the jack upward.
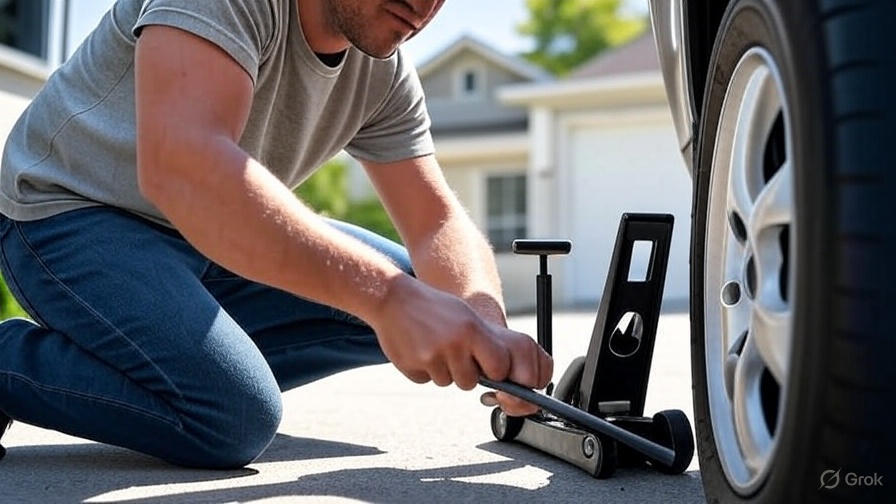
Hydraulic floor jacks offer more lifting capacity and stability compared to scissor jacks. Professional mechanics and serious car enthusiasts prefer these jacks because they lift vehicles quickly and hold heavy weights securely. The pumping action of a hydraulic jack makes raising a car much easier than cranking a scissor jack.
Bottle jacks provide another hydraulic option in a more compact design. These cylindrical jacks work well in tight spaces and can handle substantial weight loads. However, their narrow base requires extra caution to prevent tipping during use.
Hi-lift jacks serve off-road enthusiasts and farmers who need to lift vehicles in challenging terrain. These tall, mechanical jacks can raise vehicles much higher than standard jacks, making them perfect for tire changes on uneven ground or when installing larger tires.
Essential Safety Preparations Before Lifting
Safety begins long before you place the jack under your vehicle. Park your car on firm, level ground whenever possible. Soft surfaces like grass, gravel, or sand can cause the jack to sink or tip, creating dangerous situations.
Engage the parking brake completely before attempting any lifting procedures. This simple step prevents your vehicle from rolling while elevated. Turn on your hazard lights to alert other drivers if you’re working near traffic.
Place wheel wedges behind the tires that remain on the ground. When changing a front tire, wedge the rear wheels. When working on rear tires, secure the front wheels. These wedges act as insurance against unexpected vehicle movement.
Remove the spare tire and tools from your trunk before you need them. Having everything ready saves time and reduces the period your vehicle spends elevated. Check your spare tire’s air pressure during this preparation phase.
Turn off the engine and remove the keys from the ignition. This prevents accidental starting while you work under or around the raised vehicle. Set the transmission in “Park” for automatic vehicles or first gear for manual transmissions.
Locating the Proper Jack Points
Every vehicle manufacturer designates specific jack points designed to handle lifting forces safely. These reinforced areas of the frame can support the vehicle’s weight without bending or cracking. Using incorrect lifting points can cause expensive damage to your car’s body or frame.
Consult your owner’s manual to identify the exact jack point locations for your vehicle. Most cars have jack points near each wheel, typically marked with small notches or reinforced sections visible from underneath the vehicle.
Look for thick, sturdy metal sections of the frame or designated lifting tabs. Avoid lifting on plastic panels, brake lines, or suspension components. These parts cannot handle the stress of supporting the vehicle’s weight.
Clean dirt and debris from the jack point before positioning your jack. A clean contact surface ensures the jack grips properly and reduces the risk of slipping during operation.
Some vehicles feature special lifting points designed specifically for emergency roadside tire changes. These points may differ from those used in professional service bays, so verify you’re using the correct location for your situation.
Step-by-Step Jack Operation Process
Position your jack directly under the designated jack point, ensuring the lifting pad makes full contact with the reinforced area. The jack should sit perpendicular to the ground and aligned with the vehicle’s center line.
Begin raising the jack slowly, checking frequently that it remains properly positioned. Stop lifting as soon as you notice any shifting or tilting. Readjust the jack position if necessary before continuing.
Lift the vehicle only high enough to accomplish your task. For tire changes, raise the wheel approximately one inch off the ground. Higher lifting increases instability and danger without providing additional benefit.
Never rush the lifting process. Gradual, controlled lifting ensures the jack maintains proper contact and prevents sudden shifts that could cause injury or vehicle damage. Listen for unusual sounds that might indicate problems.
Keep your body clear of the vehicle’s path if the jack should fail. Never place any part of your body under a vehicle supported only by a jack. Use jack stands for any work requiring extended time under the vehicle.
Common Jack Operation Mistakes to Avoid
Many people make the mistake of lifting on inappropriate surfaces. Asphalt can be soft on hot days, causing jacks to sink. Concrete provides the most stable surface for jack operations.
Failing to loosen lug nuts before lifting creates unnecessary struggles. The wheel’s contact with the ground provides resistance needed to break loose tight nuts. Attempting to loosen them while the wheel spins freely wastes time and energy.
Over-tightening lug nuts when lowering the vehicle can damage threads or make future removal extremely difficult. Tighten nuts snugly by hand, then use the lug wrench to achieve proper torque without excessive force.
Forgetting to lower the jack completely after finishing work seems minor but can damage the jack mechanism. Scissor jacks left partially extended may not fold properly for storage.
Working too quickly often leads to accidents. Take time to double-check each step, especially jack positioning and lug nut tightness. The few extra minutes spent on careful work prevent costly mistakes.
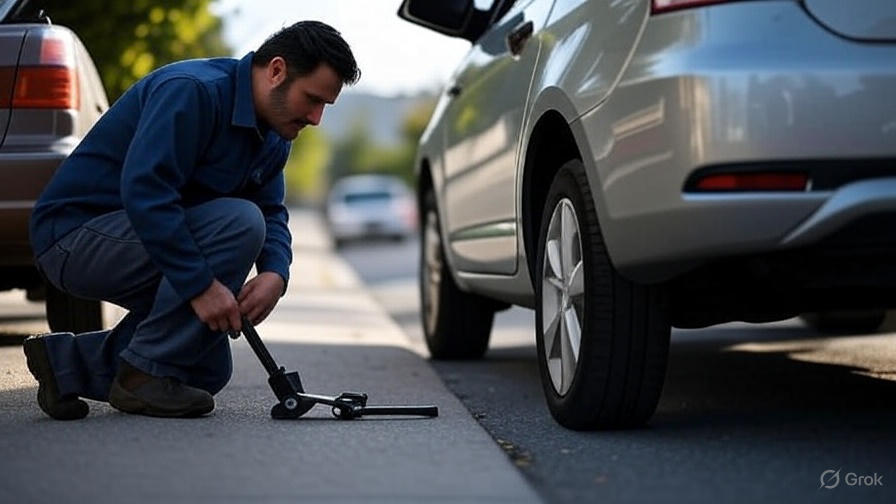
Emergency Roadside Tire Change Procedures
Pull completely off the roadway when possible, activating hazard lights immediately. Position your vehicle away from traffic flow, ideally behind a barrier or on the shoulder’s far edge.
Set up warning triangles or flares approximately 100 feet behind your vehicle on highways. This early warning system alerts approaching drivers to your presence and encourages lane changes.
Retrieve your spare tire, jack, and lug wrench before beginning work. Inspect the spare tire for adequate air pressure and visible damage. A flat spare tire defeats the purpose of the entire operation.
Loosen the lug nuts while the tire remains on the ground, turning counterclockwise. You may need to use your body weight on the lug wrench handle to break loose tight nuts. Don’t remove the nuts completely at this stage.
Raise the vehicle using the jack until the flat tire clears the ground by approximately one inch. Remove the loosened lug nuts completely and pull the flat tire straight toward you to remove it from the hub.
Mount the spare tire by aligning the holes with the wheel bolts. Push the tire firmly against the hub and replace the lug nuts finger-tight. Lower the jack until the spare tire touches the ground but still supports some vehicle weight.
Tighten the lug nuts in a star or crisscross pattern to ensure even pressure distribution. Use the lug wrench to achieve final tightness, but avoid over-tightening that could damage threads.
Professional Maintenance and Garage Applications
Professional mechanics rely on hydraulic floor jacks for their speed and lifting capacity. These jacks can raise entire vehicle sections quickly, improving workshop efficiency and customer service times.
Always use jack stands when performing any maintenance requiring extended time under a vehicle. Jacks serve as lifting devices, while jack stands provide stable, long-term support for safe working conditions.
Inspect hydraulic jacks regularly for fluid leaks, damaged seals, or bent components. Maintaining your equipment prevents failures that could cause injuries or property damage.
Store jacks in clean, dry environments to prevent rust and corrosion. Apply light oil to moving parts periodically to ensure smooth operation when you need the equipment.
Consider the weight rating of your jack before attempting to lift heavy vehicles or equipment. Exceeding capacity limits can cause catastrophic failures resulting in serious injuries.
Maintenance and Storage Best Practices
Clean your jack after each use, removing dirt, grease, and road salt that can cause corrosion. Pay special attention to moving parts and adjustment mechanisms that require smooth operation.
Lubricate scissor jack threads periodically with appropriate grease or oil. This maintenance prevents seizing and ensures the jack operates smoothly during emergencies when you need it most.
Check hydraulic fluid levels in floor jacks and bottle jacks annually. Low fluid levels reduce lifting capacity and can indicate internal leaks requiring professional repair.
Store jacks in fully retracted positions to relieve pressure on internal components. This practice extends equipment life and ensures proper operation when you need emergency assistance.
Test your jack’s operation periodically, even if you haven’t used it recently. Mechanical devices can develop problems during storage, and discovering issues before emergencies occur prevents roadside frustrations.
Troubleshooting Common Jack Problems
Scissor jacks that won’t extend often suffer from corroded threads or damaged lifting mechanisms. Clean threads thoroughly and apply penetrating oil to free stuck components.
Hydraulic jacks that won’t hold pressure typically have worn seals or contaminated fluid. These problems require professional repair or replacement to restore safe operation.
Jacks that slip during lifting may have contaminated lifting surfaces or worn contact points. Clean both the jack and vehicle contact surfaces before attempting repairs.
Bent or damaged jack components compromise safety and require immediate replacement. Never attempt to straighten bent parts, as this can weaken the metal and cause failures.
Advanced Techniques for Difficult Situations
Lifting vehicles on slopes requires extra precautions and specialized techniques. Use wheel chocks on both uphill and downhill sides of the remaining tires to prevent rolling.
Working in confined spaces may require different jack types or creative positioning. Hi-lift jacks work well when standard jacks won’t fit in available spaces.
Lifting heavily loaded vehicles demands careful attention to weight distribution and jack capacity. Consider partially unloading the vehicle to reduce lifting requirements.
Conclusion
Mastering car jack operation provides independence and confidence when facing roadside emergencies or performing routine maintenance. The techniques covered in this guide ensure safe, effective vehicle lifting while minimizing risks to both you and your vehicle.
Practice these procedures in your driveway or garage before you need them in emergency situations. Familiarity with your equipment and techniques transforms stressful roadside problems into manageable tasks you can handle with confidence.
Remember that safety always takes priority over speed when lifting vehicles. The few extra minutes spent on proper procedures prevent injuries and expensive damage that can result from rushed or careless work.
Keep your jack and related tools properly maintained and easily accessible in your vehicle. Regular inspection and maintenance ensure these crucial tools work properly when you need them most, whether for routine tire rotations or unexpected roadside emergencies.